Mail Filters: Difference between revisions
m Ii69854 moved page Mail Filters to Admin:Mail Filters without leaving a redirect: Probably shouldn't have made it a regular page |
Change instructions to use a video, rather than a images. |
||
| Line 3: | Line 3: | ||
== Using the Webmail Interface == | == Using the Webmail Interface == | ||
This tutorial uses the new elastic CSEE skin, however the steps should be largely the same no matter the theme you are using. | This tutorial uses the new elastic CSEE skin, however the steps should be largely the same no matter the theme you are using. You can follow along with the video below you or just read the instructions. | ||
[[File:CreateFilter.webm]] | |||
# Go into settings using the "gear" icon. | |||
# Select "Filters" | |||
# Use the "plus" icon on the upper right corner to create a new filter, or choose an existing filter to edit. | |||
# Optionally, set a name for the filter under "filter name." | |||
# Set a Rule for the filter. For example, "From contains gweiss@cs.umbc.edu" will apply whenever the sender's address contains "gweiss@cs.umbc.edu" | |||
# Set an action for the filter. For example, "Move message to" allows you to automatically move the email to a given mail folder. | |||
# Click on "save" to finalize the filter. | |||
Use the "plus" icon to create a new filter, or choose an existing filter to edit. | |||
=== Advanced Editing === | === Advanced Editing === | ||
Revision as of 15:01, 28 February 2025
By making use of Email Filters, it's possible to automatically sort through much of your inbox. The CSEE email server supports using sieve filters. You can either directly connect with a "managesieve" client, such as the Sieve Thunderbird Plugin, or using CSEE's webmail interface at webmail.cs.umbc.edu.
Using the Webmail Interface
This tutorial uses the new elastic CSEE skin, however the steps should be largely the same no matter the theme you are using. You can follow along with the video below you or just read the instructions.
- Go into settings using the "gear" icon.
- Select "Filters"
- Use the "plus" icon on the upper right corner to create a new filter, or choose an existing filter to edit.
- Optionally, set a name for the filter under "filter name."
- Set a Rule for the filter. For example, "From contains gweiss@cs.umbc.edu" will apply whenever the sender's address contains "gweiss@cs.umbc.edu"
- Set an action for the filter. For example, "Move message to" allows you to automatically move the email to a given mail folder.
- Click on "save" to finalize the filter.
Advanced Editing
Our webmail client also allows editing of the direct sieve code rather than using the interface. While this is powerful, an incorrectly made sieve filter could cause you to lose mail, so be cautious when doing so.
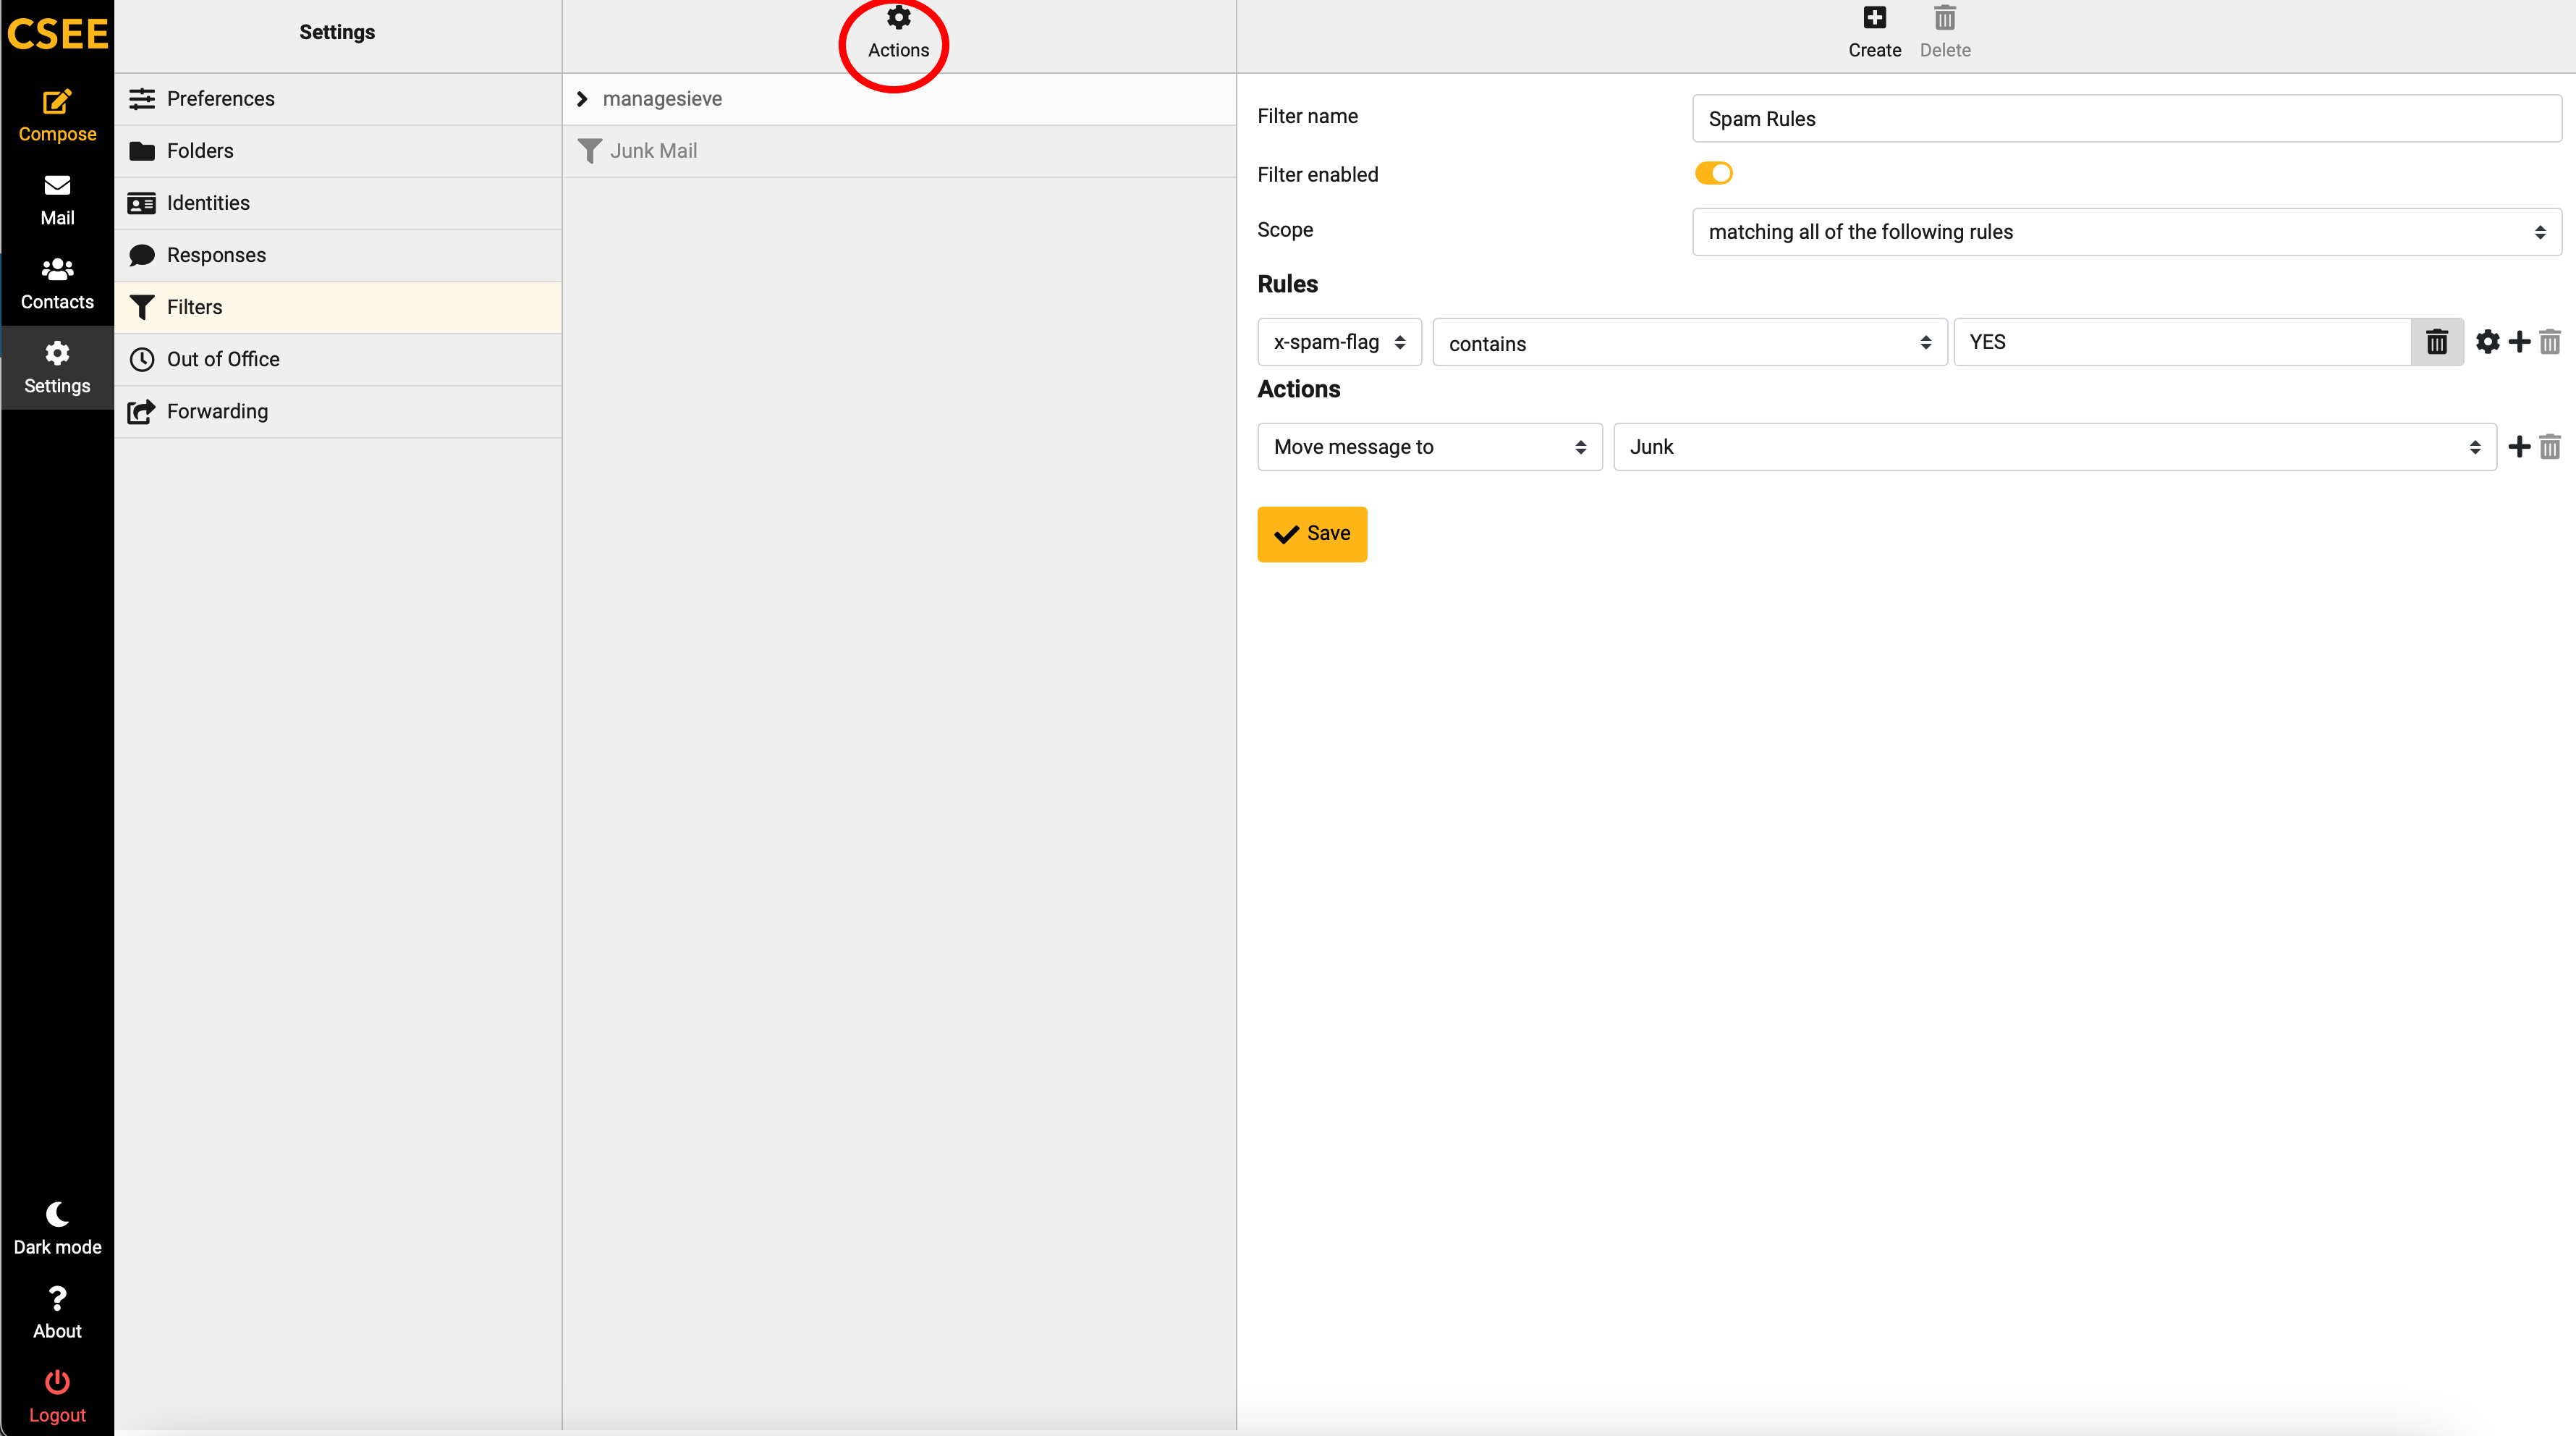
First, choose "actions."
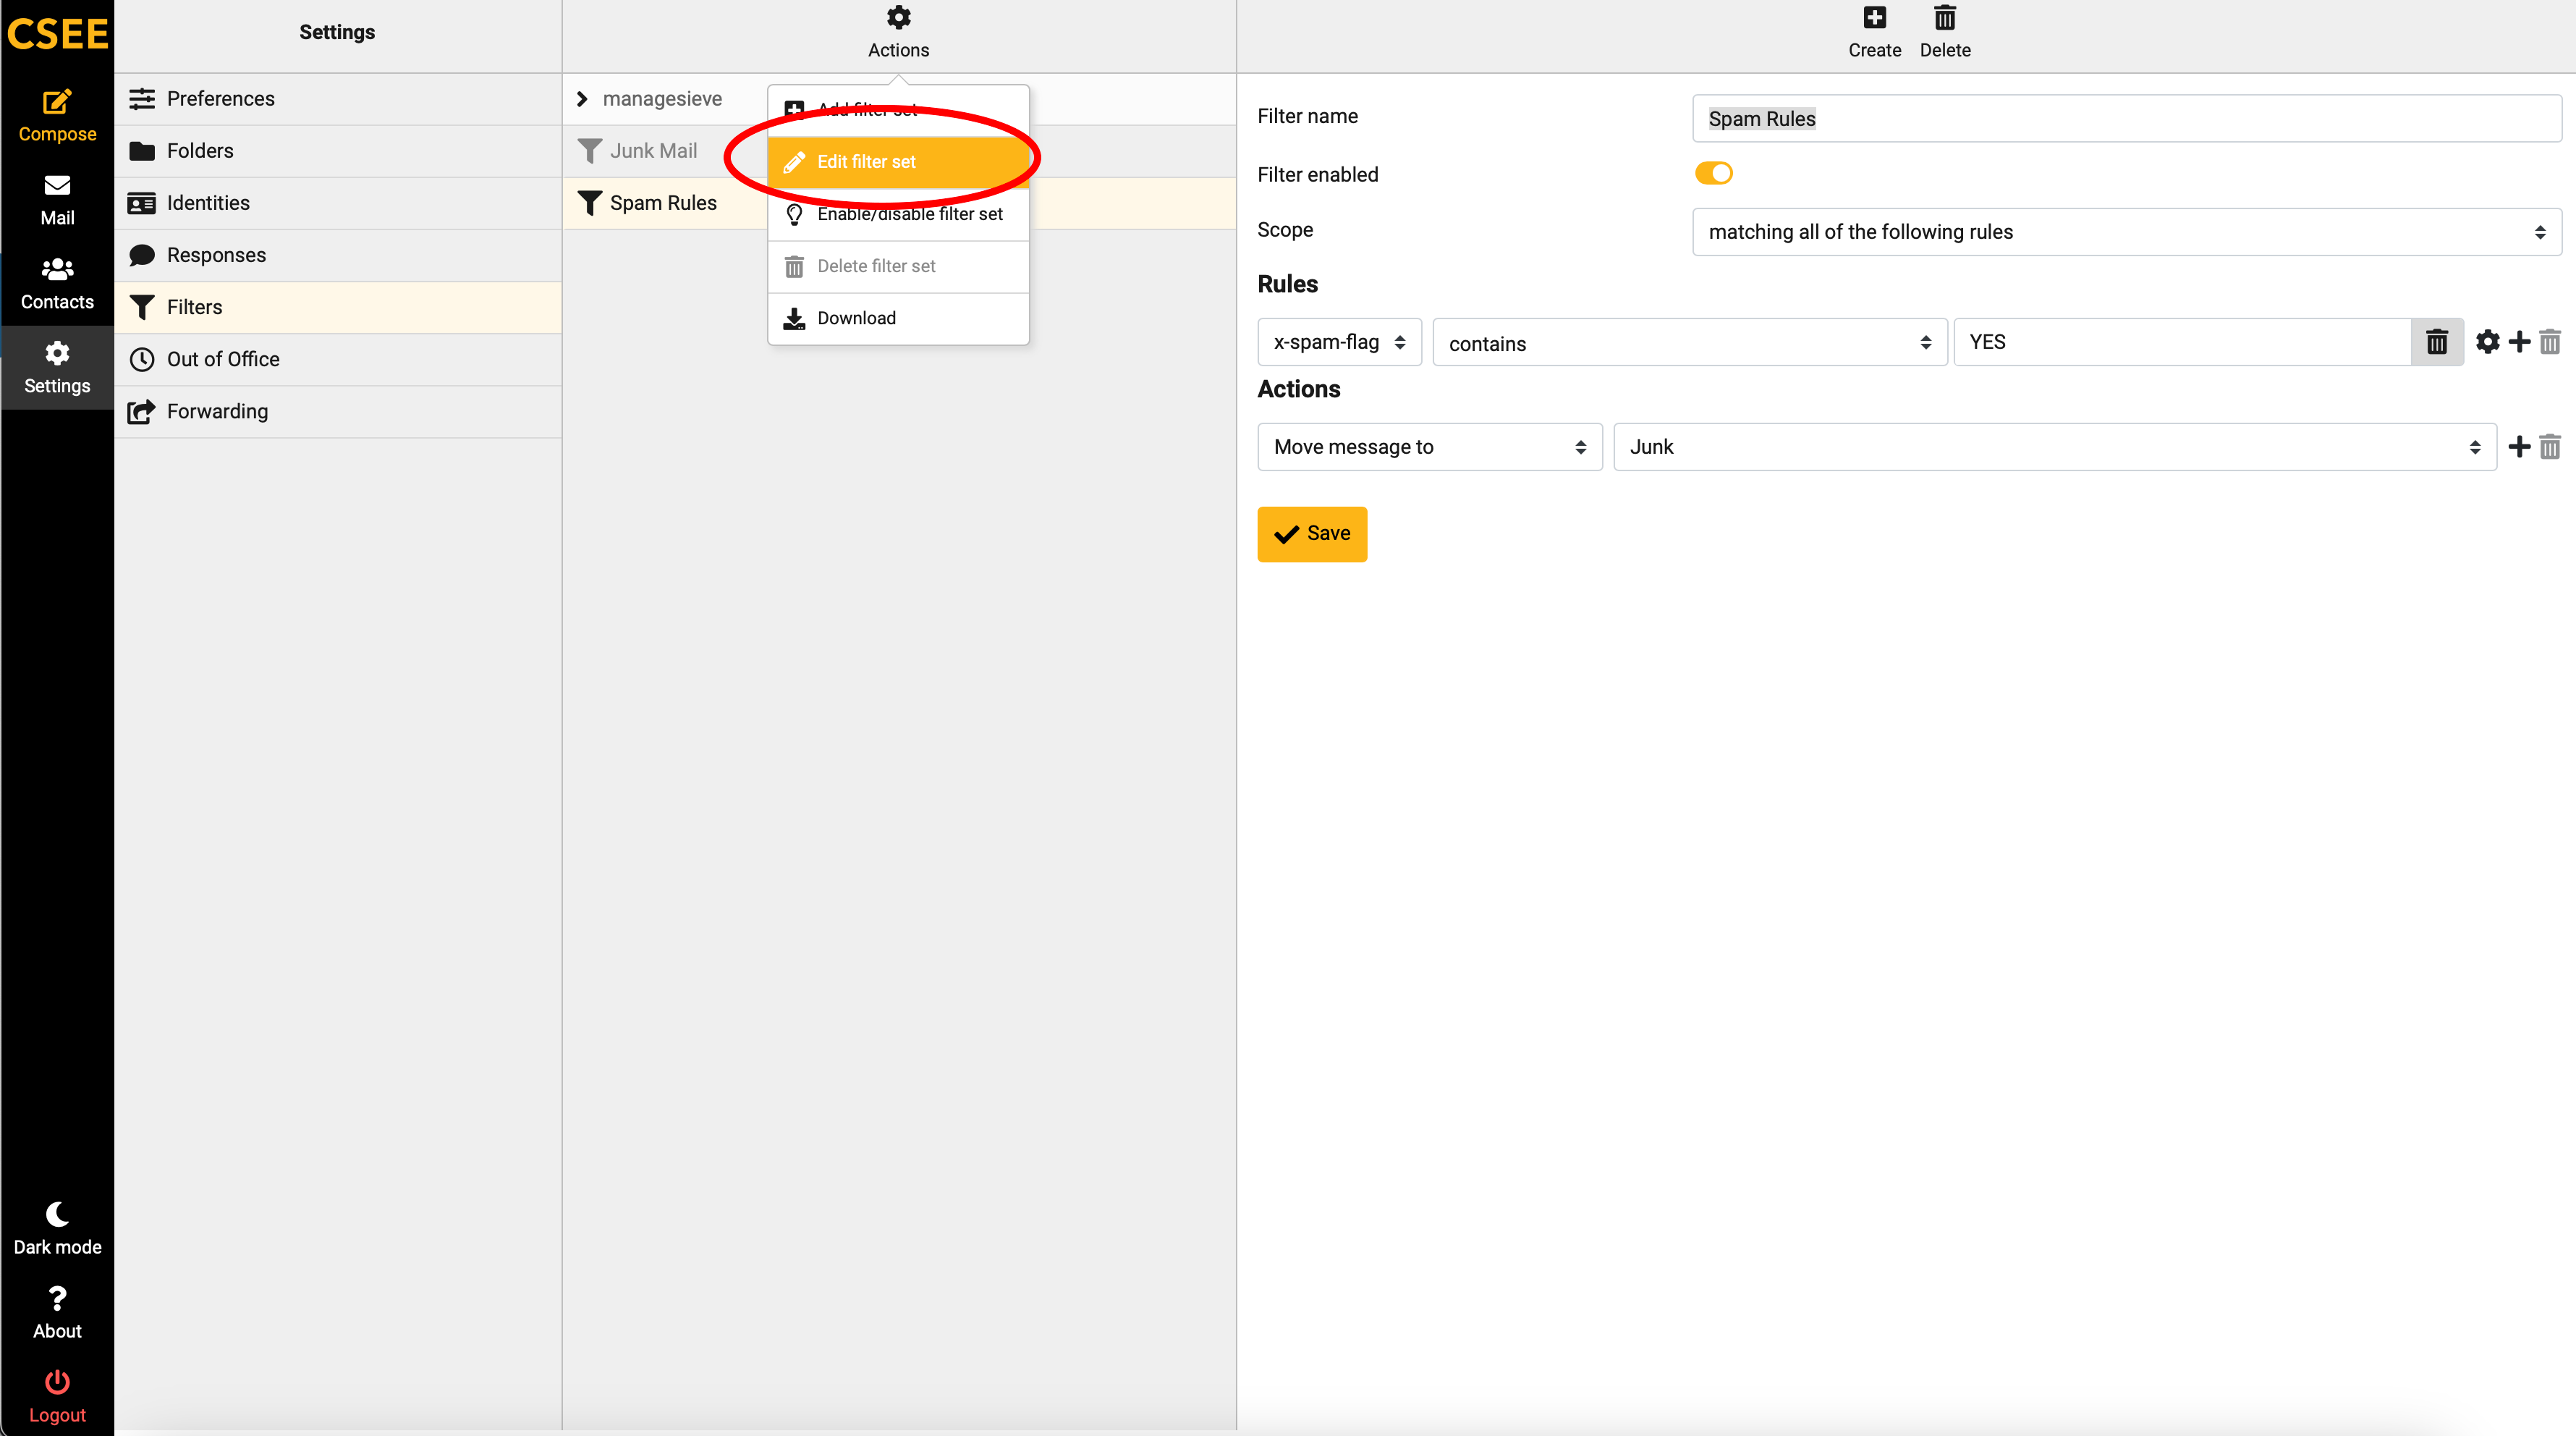
Now, choose "Edit Filter Set."
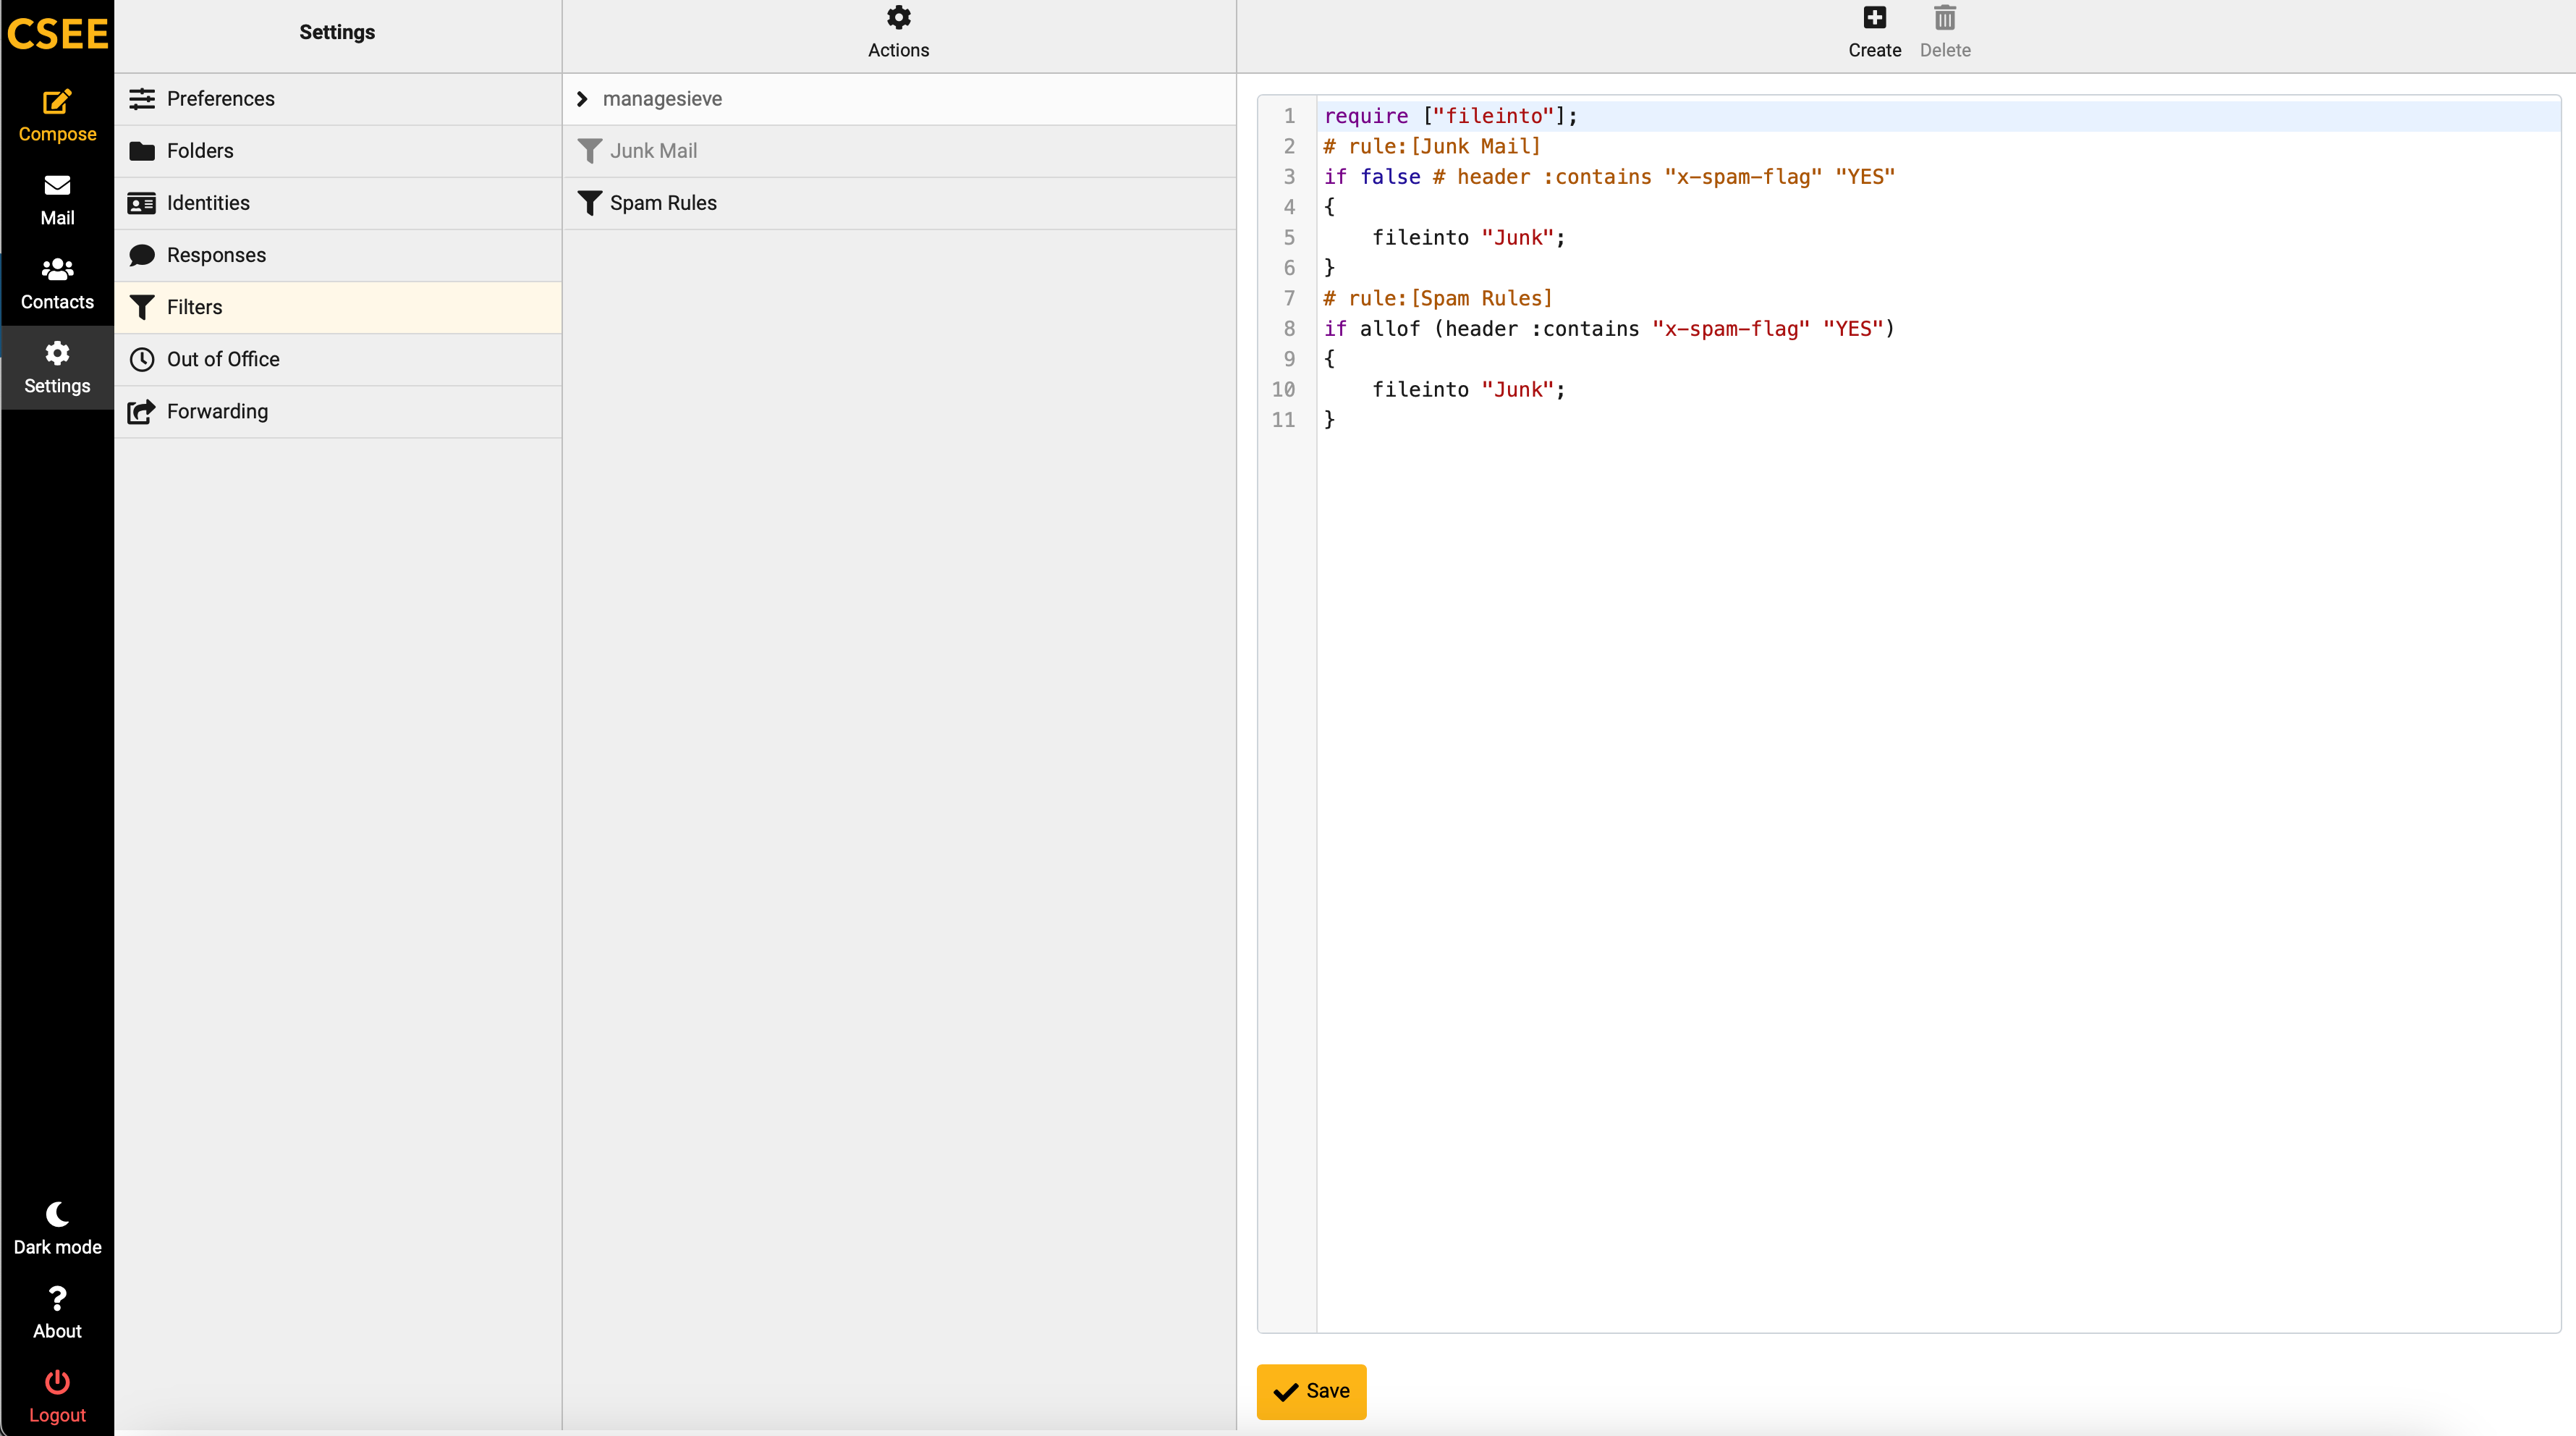
This will open an editor containing all of your sieve filters. You are free to directly edit the script in the editor, or simply copy-paste code from elsewhere.


